
Can you blame us for wanting to put these little pieces of art on every car that we get our hands on? Titanium wheel fasteners have long been used by exotic manufacturers like Ferrari, shaving precious rotational mass from the car to increase street performance. The two most useful properties of the metal are corrosion resistance and strength-to-density ratio, the highest of any metallic element.
The moment you grab one of these studs, the weight surprises you. It feels more like a hollow, perfectly threaded wooden stick than a solid piece of shiny metal, but these certainly aren't made of wood. With a tensile strength that exceeds OEM steel lug bolt ratings and a design that allows for use of 15mm spacers within a compact, bullet nose stud body, the Future Classic titanium stud kit sets the standard in the segment. Versus 75mm steel variants, the 80mm FC 10.9 grade unit boasts a 60% effective weight reduction per stud. And they perfectly accommodate our choice of 15mm front and 12mm rear spacers.
In true Future Classic fashion, each kit comes with Loctite 262 (Red) and each stud is pillowed within a laser-cut foam insert to ensure they arrive as perfectly as they were machined. FC’s motorsport-themed “livery box” provides a beautiful finishing touch—with the iconic E30 M3 Tic Tac theme—slowly revealing the gorgeous titanium as you slide the box out from beneath.
Tools Required:
- Pair of adjustable wrenches
- Torque Wrench (15 - 95lb-ft range)
- 1/2" Socket Wrench
- 17, 19, and 22mm Sockets
Step 1:
Begin by raising the car safely. If you do not have access to a lift, raise the car with an automotive jack. Support the vehicle with jack stand(s) and remove the wheel with your 17mm socket wrench.
Step 2:
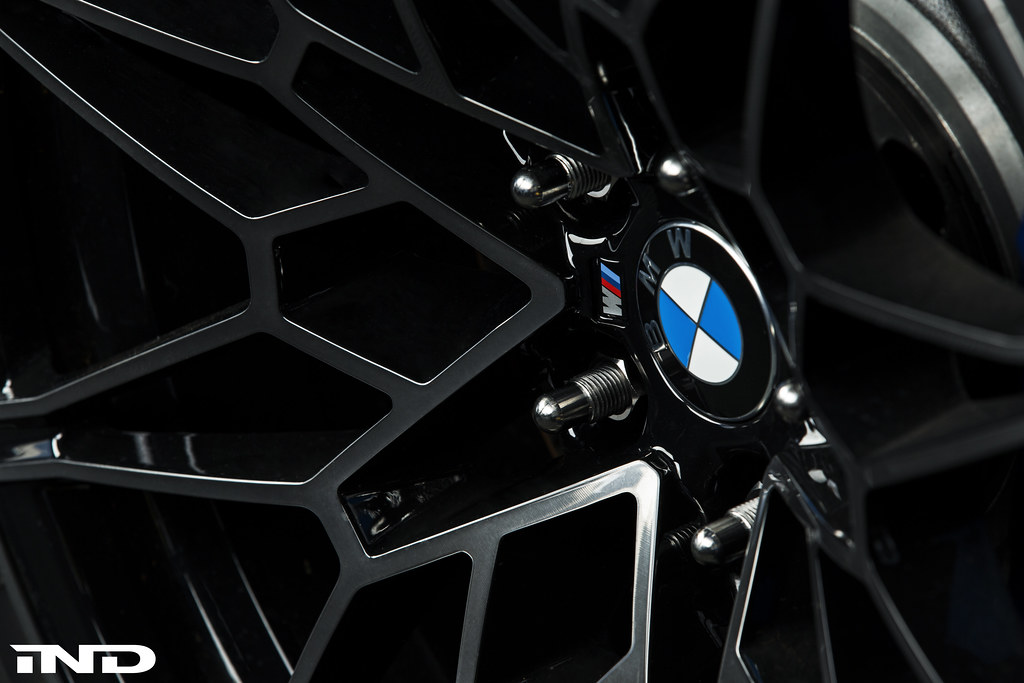
Remove the Future Classic wheel studs from the packaging and spin off the lug nuts.


 Step 3:
Apply Loctite 262 Threadlocker to an individual stud at the shorter hub end. Spread the Loctite evenly around the threads. Once properly coated, carefully hand thread it into the hub. Repeat this step for all five (5) studs per hub.
Once all five (5) studs have been hand threaded into the hub, affix the two included nuts onto one stud. This “double nut” method will allow you to properly torque the stud into the hub.

 Step 4:
Using two wrenches, ensure both nuts are pressed together before torqueing. Using a small torque wrench, torque the individual stud to 15lb-ft. Once the appropriate torque spec has been reached, use the same wrench pairing to loosen the two installation nuts. Spin them off by hand and repeat this step for all five (5) studs per hub.
 Step 5:
With all the studs secured, reinstall the wheel, carefully avoid dragging the wheel across the top stud. Hand thread each titanium lug nut into place before tightening them with a 19mm socket. Repeat this step after properly installing five (5) studs per hub until each corner has been addressed.

Step 6:
Finish the installation by lowering the car to the ground and properly torqueing each lug nut to 95lb-ft. Drive the car around for a short duration to properly seat the lug nuts, let the car cool down completely, and then re-torque.
While BMW calls for a lug bolt torque spec of about 103lb-ft for the new G8x, studs experience different loads when compared to OE lug bolts. Because the lug bolts are rotated into the hub, they experience both twisting and vertical clamping forces. However, since studs are already engaged into the hub, the lug nuts do not require as much torque to compensate for friction and achieve the same amount of clamping force.